Smart Home Security
Essential Tools for DIY Home Security Installations
Key Takeaways
- Understanding the right tools ensures a smooth DIY home security installation.
- Essential tools include drills, screwdrivers, and smart devices compatible with your system.
- Installation requires careful planning and preparation to maximize security.
In 2025, homeowners are increasingly stepping up to the challenge of installing their own smart home security systems. With the rise of DIY home improvement projects, it's crucial to equip yourself with the proper tools and products needed for a successful installation. This guide will outline the essential tools you need for your DIY home security setup and showcase some products that can enhance your security experience.
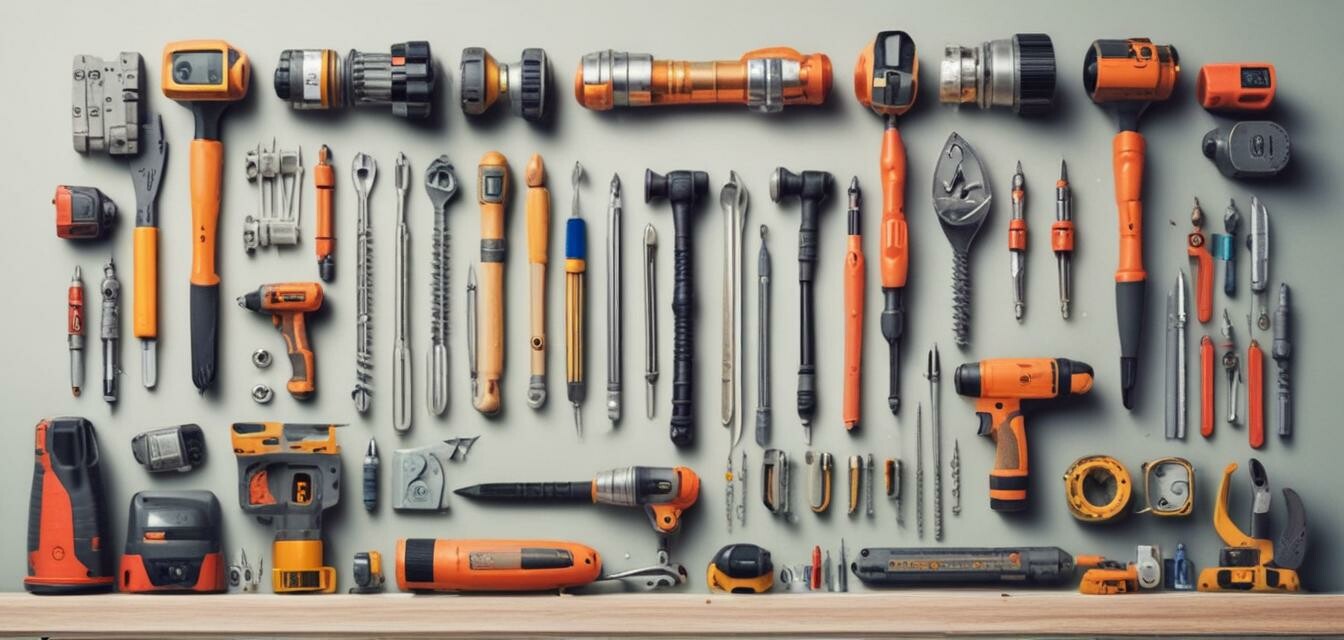
Essential Tools for Installation
Before diving into product recommendations, let’s look at the essential tools you'll need to carry out a successful DIY installation:
| Tool | Purpose |
|---|---|
| Drill | For creating holes to mount surveillance cameras and sensors. |
| Screwdriver Set | To tighten or loosen screws on various devices and fixtures. |
| Wire Cutters | To trim cables to the required lengths, especially for wired systems. |
| Measurement Tape | Essential for precise placements of cameras and sensors. |
| Level Tool | Ensures your installations are straight and properly aligned. |
| Multi-tool | A versatile tool that can assist in various installation tasks. |
| Ladder | For reaching high places to install cameras or sensors. |
Recommended Products
Here are some standout products that can complement your DIY security installation efforts:
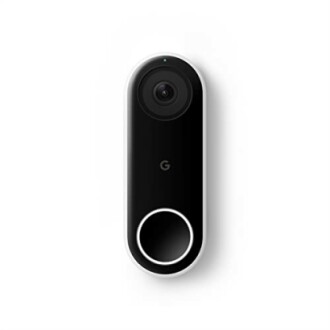 Smart Doorbell
Google Nest Doorbell (Wired)
Experience 24/7 video streaming with HDR video, night vision, and two-way audio. This smart doorbell helps keep your home secure while allowing you to communicate with visitors remotely.
Learn MoreGathering the Right Equipment
When gathering tools and products, consider the following crucial aspects:
- Compatibility with existing home devices
- Ease of installation and usage
- Manufacturer support and warranty options
- Customer reviews and product ratings
Planning Your Security Installation
Before you start installing, careful planning is key. Here are some tips to consider:
- Assess the areas around your home that need surveillance.
- Identify the installation locations for cameras and smart devices.
- Create a list of possible challenges during installation.
- Determine whether you will need additional accessories or tools.
Additional Tips for Successful Installations
Tips for Beginners
- Always read the manufacturer’s installation guide.
- Test devices before final installation to ensure proper function.
- Utilize online videos and tutorials for visual guidance.
- Don’t rush; take your time to ensure everything is secure.
System Integration
Integrating your security system with home automation products enhances functionality. A product like the Home Automation Hub for Motorized Blinds can bring your home security to the next level, allowing you to control various smart devices seamlessly.
 Smart Hub
Home Automation Hub for Motorized Blinds
Control your motorized blinds and connect seamlessly with Alexa, Google Home and more. This hub provides a sophisticated touch to your smart home setup.
Learn MoreConclusion
Investing time in DIY home security installations can be rewarding, providing you with control and peace of mind. With the right tools and products, you can securely set up your smart home the way you want it. For more information on different smart security devices, check out our Buying Guides section for expert advice on making informed decisions for your home security needs.
Pros
- Cost-effective approach to home security.
- Full control over the installation process.
- Ability to customize your home security system.
Cons
- Can be time-consuming for beginners.
- Potential for mistakes without proper knowledge.
- May void warranties if installed improperly.